
Budget Friendly Video Wall
Premiere
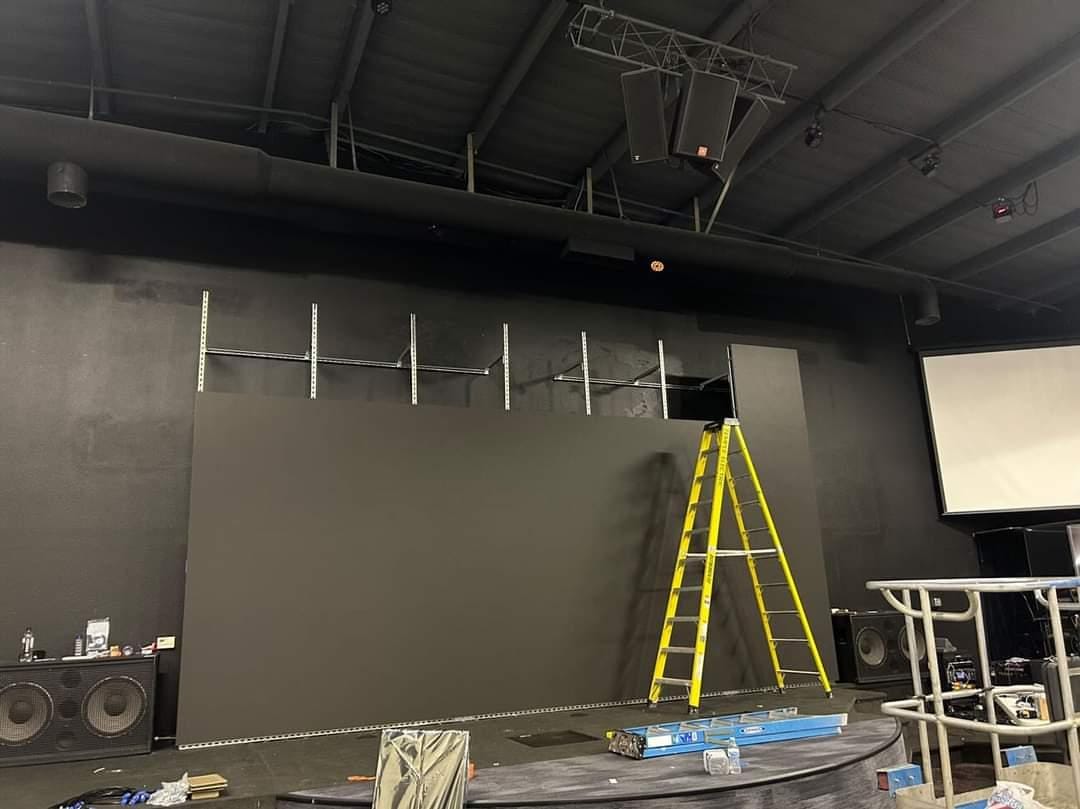
- 1-2 Person Install
- 1-2 Day Setup time
- Unlimited size options
- Thin panels to fit close to the wall (not a bulky build)
- Fully front-serviceable
- Light weight panels
- Trouble Free Service Kit (easily repairable)
$9,999.00 – $44,999.00

product description
Upgrade to a Premier Video Wall: Brighter Than Projectors, Larger Than TVs
If you’re seeking a captivating visual experience that surpasses the limitations of traditional TVs and projectors, our Premier video panels are the perfect solution.
- Unmatched Scale & Brilliance: Create stunning video walls of any size to perfectly fit your space and enjoy exceptional brightness and clarity.
- Effortless Customization: Tailor your video wall to your exact specifications, ensuring it seamlessly integrates into your environment.
- Professional Installation: While installation requires careful attention, our expert team can guide you through the process, ensuring a swift and successful setup.
Experience the Premier Difference:
Enjoy a long-lasting, vibrant video wall in just 1-2 days, depending on the size of your chosen configuration.
